LinkedIn ProFinder makes finding good matches between freelancers and clients easier than ever before. In this article, let’s look at how both the employer and the freelancer can use the platform to their advantage.
What is LinkedIn ProFinder?
LinkedIn ProFinder is a marketplace for business owners looking for local freelancers. The service is good for business owners because it cuts short the time they usually spend to find the right person for a specific project.
It’s also an opportunity for freelancers because it gives them a platform to connect with local employers. Since LinkedIn ProFinder matches clients with providers based on their LinkedIn profiles, both can be assured of receiving the best match.
But how exactly does LinkedIn ProFinder work? In this comprehensive guide, we’ll review LinkedIn ProFinder and how to use it. Let’s dive in.
Money Note: If an extra $1K–$5K/month would change your 2026 goals (debt, savings, travel, freedom), you’ll want to catch this: free live workshop from a freelancer who’s earned $4M+ online. No fluff. No gimmicks. A real roadmap. 👉 Watch the training or save your seat here »
How LinkedIn ProFinder Works
LinkedIn ProFinder is currently only available in the United States and within the following industries:
- Software development
- IT services
- Design
- Writing and editing
- Marketing
- Business consulting
- Legal services
- Marketing
- Accounting
- Coaching services
- Real estate
- Insurance
- Photography
- Home improvement
The setup is simple: businesses submit project specifications, commonly known as the RFP (more on this later). Once the project is accepted, LinkedIn ProFinder analyzes its database, and invites candidates to submit their proposals. LinkedIn ProFinder submits the best candidates, up to a maximum of five, to the client for them to choose from.
The cost depends on whether you’re looking to hire someone or trying to get freelance clients. Prospective clients can post an unlimited number of RFPs for free.
Freelancers can submit ten proposals for free. After that, they need to subscribe to LinkedIn Premium at the Business level, which costs $59.99 per month or $575.88 annually.
True, for freelancers, the platform may seem like it isn’t worth it. Who wants to spend that much money just to submit more than ten proposals to only be considered for a job (yes, considered, not hired) in the first place?
But here’s the thing. The current job outlook isn’t as rosy anymore because of COVID-19. That means it can do freelancers a lot of good if they welcome the additional help to land gigs.
Steps to Get Started on LinkedIn ProFinder
Whether you’re an employer or a freelancer, you need a LinkedIn account before you can use ProFinder. If you’re not signed in to a LinkedIn account, you’ll be directed to sign in. If you don’t have an account yet, click “Join Now.”
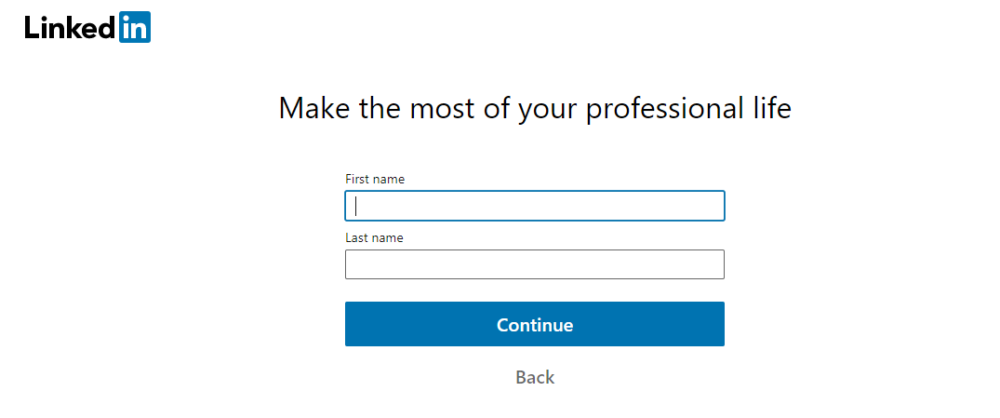
Input your email address, create a password, and enter your first and last name:
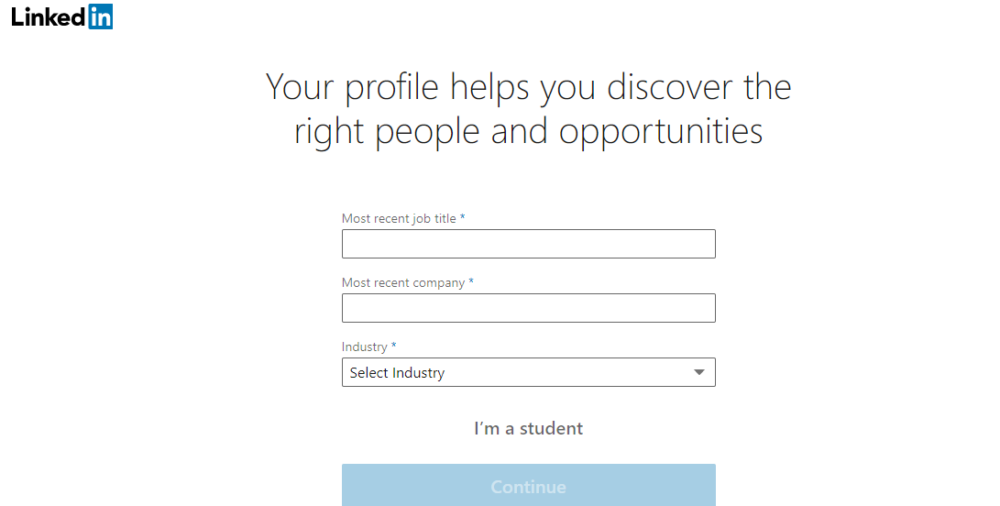
Unlike other social media channels, you should always use your legal name (or the name you are known by professionally) on LinkedIn. On the next page, you’ll be directed to enter your current role and recent work history:
Click “Continue,” and LinkedIn will send you a code by email.
Setting Up the LinkedIn Profile
Now you’ve registered, take some time to set up your LinkedIn profile. Because LinkedIn ProFinder is an extension of LinkedIn, it sources information for both clients and freelancers directly from their LinkedIn accounts. If your profile doesn’t meet the criteria, it will be rejected.
You must tailor your LinkedIn profile to your goals. Therefore, provide comprehensive and accurate summaries of your skills and make sure you list all relevant experience.
If you make edits to your LinkedIn profile, the same edits are automatically made to your Linkedin ProFinder profile (though the same is not true in reverse).
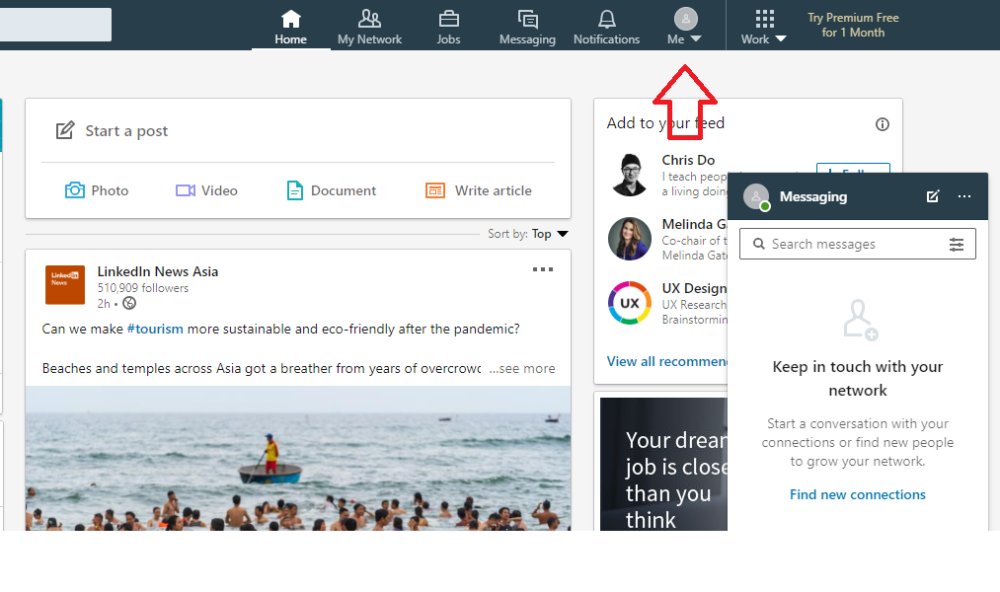
At a minimum, you should add a profile picture, your full relevant work history, and any particularly notable achievements. You can amend your profile at any time by clicking on the “Me” tab in the top right corner and then clicking “View my Profile”:
LinkedIn says that the following five elements are crucial to creating the perfect profile:
Profile Photo
Your profile photo will be the first thing people see. It appears beside all your posts and in a circle in the top left corner of your profile:
Your photo should be a high-resolution headshot. A professionally-taken photograph is not necessary, but you should be looking straight into the camera and smiling. Profile photos that might be acceptable on Facebook (you out partying, a holiday snap on the beach, or a photo of your child or pet) aren’t suitable for LinkedIn.
Headline
The professional headline is the text directly below your name. It should sum up you and your business in one short sentence. Click on the pencil icon at the top right part of your profile to change your headline:

Your headline shows up in search results, so put some thought into it. Make sure it focuses on the services for which you wish to be hired through ProFinder.
Summary
The summary is found right beneath your profile header and can be up to 2000 characters long. This area is where you can highlight your accomplishments, skills, and background. Be thorough, but write in an engaging tone. Avoid buzzwords, jargon, and rambling. Here’s a strong example of a LinkedIn summary:
Recommendations are given by people who have worked with you. You can include those in your profile so potential employers can see how you work and the type of work you do.
Recommendations
Recommendations are short testimonials from people who have worked with you. Don’t be afraid to reach out to some former clients or colleagues and ask them to write you a recommendation (and write one for them in return, of course!)
Recommendations are a form of social proof, showing that others endorse your abilities.
Published Articles
LinkedIn has an inbuilt publishing platform where you can write and share articles. These are displayed on your ProFinder profile. If they are well written, they can attract the attention of potential employers. Anyone on LinkedIn can read your articles.
Click on “Write article” at the top of your profile:
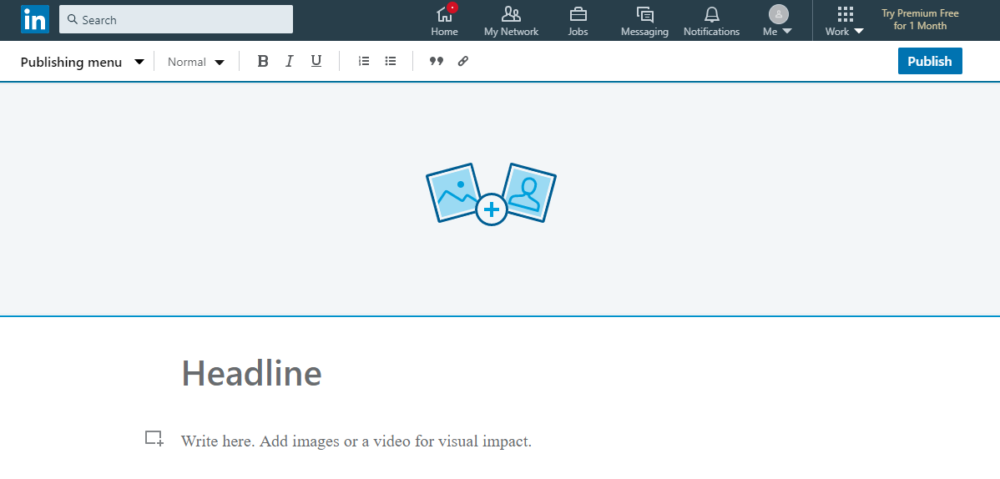
You can include images or videos in your article to make it more engaging:
Once you’re done, just click on “Publish.” Make sure your article is relevant, timely, factually accurate, and free from spelling and grammatical errors.
Accessing LinkedIn ProFinder
Now you’ve completed your profile, you can get started with ProFinder. To access ProFinder from your LinkedIn homepage, click on the “Work” button at the top right part of your screen:
Select “ProFinder” from the drop-down icon menu:
Once you’re in the ProFinder platform, what you do next will depend on whether you are a freelancer or a prospective client. Let’s look at one at a time.
As An Employer
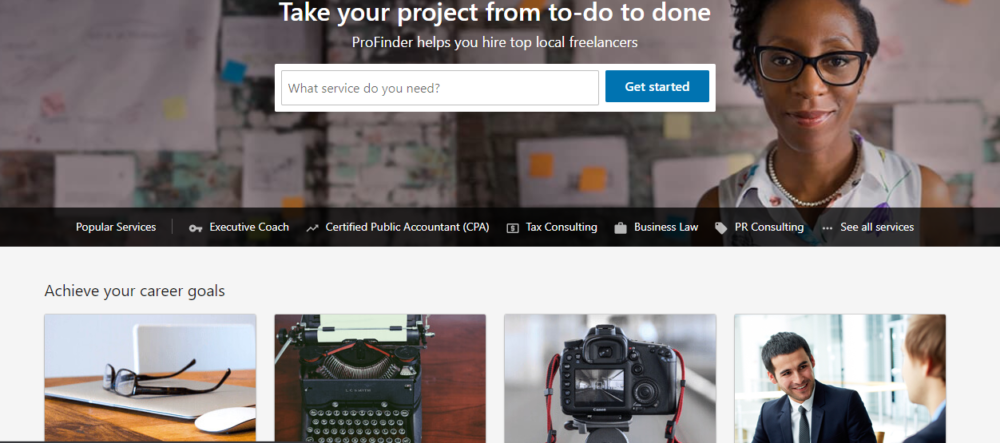
If you’re an employer, you’ll be redirected to this page when you click the ProFinder icon:
Specify the service you’re looking for in the empty box. You just need to type in the first few letters, and the platform will suggest several options:
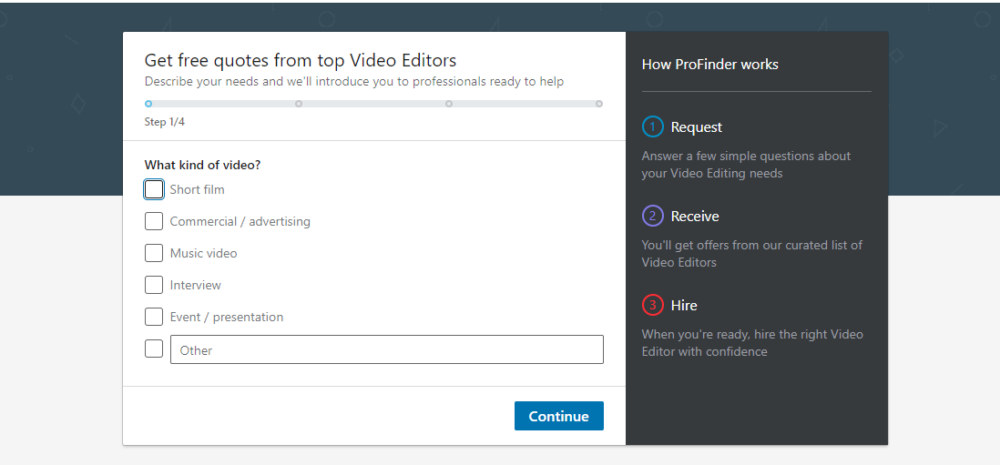
Once you choose the type of work and click on “Get started,” you’ll see a short questionnaire. The questions you’ll need to answer will depend on what area of work you selected. Here’s an example:
The questions are relatively specific. At the end, you’ll be asked for additional project details and specifications. The minimum is 25 characters, but you should be as precise as you can to maximize your chances of finding the best freelancer for the job:
Once you’ve finished, you’ll see a confirmation screen that says, “Within 24 hours, we will introduce you to experts available and interested in helping you.”
All you need to do then is wait. Within a day, LinkedIn Profinder will send you five of the best candidates. You can check out the status of your project proposal from your LinkedIn ProFinder account. Click on “My Projects” in the top right:
Click on a project to see its status:
It really is that simple! Now let’s look at how to use LinkedIn ProFinder as a freelancer.
As a Freelancer
As a freelancer looking for work, you’ll land on this page:
Make sure the location listed on your LinkedIn profile is accurate. If you’re listed as living outside the United States, you’ll see a message that the services are not available in your area yet.
Unlike employers, who can use ProFinder as soon as they open a LinkedIn account, freelancers have to apply to be accepted as a pro on the platform.
Click on “Apply now” and specify the type of service you offer:
Make sure that what you choose is aligned with your LinkedIn profile content.
Once you click on “Continue,” you will be asked your areas of expertise within your field. For example, this is what you get when you choose the “Design” option:
Choose as many options as apply to you, and then click on “Submit application.” You should see this message:
LinkedIn ProFinder’s concierge team manually reviews all applications, so be patient — it can take up to 24 hours and slightly longer during weekends and holidays. According to LinkedIn, a successful applicant will have a complete profile that “clearly demonstrates his or her freelance status and experience.”
How Freelancers Can Find Clients on LinkedIn ProFinder
If your application is successful, you’ll get an acceptance letter in your inbox. Unlike other freelance jobs platforms where you can search for projects, you need to be invited to apply. Here’s how it works:
When the employer submits a project, LinkedIn ProFinder’s algorithm looks into its database and notifies freelancers based on the following criteria:
- Location. The freelancer should be geographically close to the employer. If there are not enough people within the specified area, the radius is expanded.
- Services offered. The freelancer’s expertise must match the project requirements.
- Matching profile keywords.
- Completeness of profile. The more complete the freelancer’s profile, the better.
Notifications are sent to qualified freelancers using a drip model. In other words, ProFinder will continue to notify freelancers fitting the criteria until five proposals are received or 48 hours pass, whichever comes first.
If you get a notification, you will have to compete with four other freelancers for the gig by writing a professional email and a proposal that stands out. Here are some of the things you need to include and ways to set yourself apart:
- Price: Pitch a project rate and not an hourly rate unless otherwise specified. Don’t overprice, but don’t undervalue yourself either.
- Letter of introduction: A personalized introduction letter goes a long way. Look at the potential employer’s LinkedIn profile first. Tailor your introduction to each client. Be polite, enthusiastic, and engaging, but keep it concise.
- Free phone consultation: LinkedIn ProFinder will ask you if you want to offer this when you submit your proposal. I recommend you always say yes, as it is very attractive to prospective clients.
Submit your proposal by clicking on the “Submit” button in the email notification, or by clicking “View” in your Client Requests folder. The client will contact you directly if you win the bid.
Remember, you can submit ten proposals for free, so take advantage of them.
If you don’t win a project, don’t be downhearted. The competition is fierce, and it doesn’t say anything about your ability.
Should You Use LinkedIn ProFinder as a Freelancer?
For freelancers, LinkedIn ProFinder can be a useful tool, but should not be their only source of leads. Due to the vetting process, competition is steep.
Even if you’re one of the lucky few who get a notification for a project, you’ll still have to compete with four other equally skilled freelancers for the job. There’s also a cost involved once you’ve used your ten free proposals.
This is not to say that freelancers should no longer use the platform. The LinkedIn ProFinder employer database is extensive, so there is always work to be had. If you take advantage of the platform and use other freelance job sites to look for leads too, you should never have a shortage of work coming in.
Should You Use LinkedIn ProFinder as a Business Owner?
LinkedIn ProFinder is an excellent platform for employers looking to find skilled, reliable freelancers to complete projects.
The platform is absolutely free. You can submit as many project proposals as you want without spending a dime. It’s also very easy to use. You don’t need technical expertise to submit those RFPs. Just read and answer the questions, and you’re good to go.
But that’s not all. There is a high barrier to entry for freelancers on the platform. This means you can always be assured of the quality of work once completed.
So to recap, with LinkedIn ProFinder you get, for free, a skilled freelancer in your area who delivers. Who doesn’t want that?
Best of luck!
I hope this guide to LinkedIn Profinder helped you in your freelance journey to finding more jobs. It’s an extremely useful site that you can invest some time in and get qualified leads — both as a freelancer and an employer.
Remember to give it your best, write a great proposal, and don’t give up!
Keep the conversation going...
Over 10,000 of us are having daily conversations over in our free Facebook group and we'd love to see you there. Join us!


